
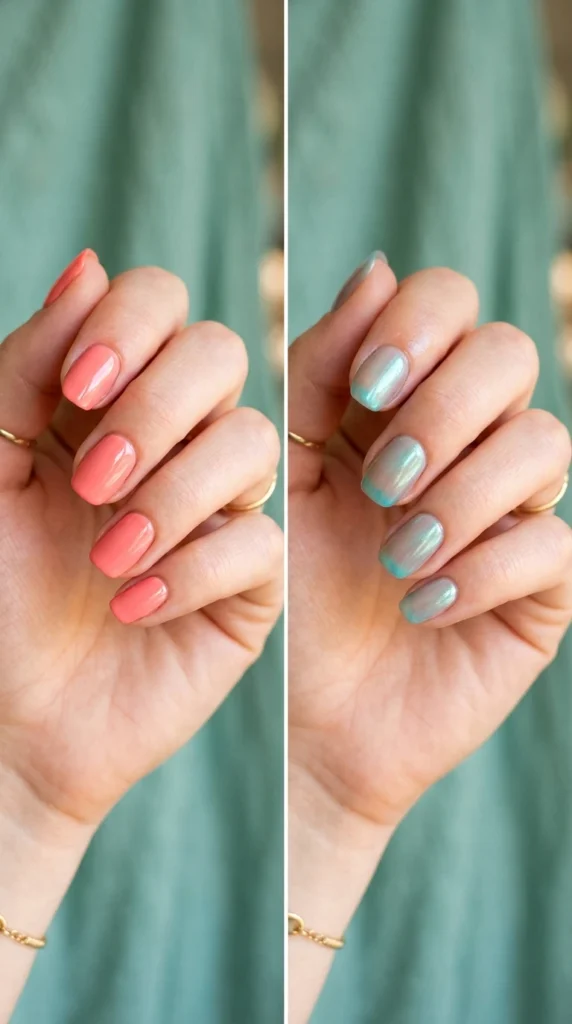
Your polish drawer is full of possibilities you have never seen. That plain pink can become a glowing coral. That navy can turn into a galaxy. The trick is layering, and it costs you nothing but a few extra minutes. Instead of buying yet another bottle, you paint one shade over another and watch a completely new color appear.
This guide on how to layer nail polish walks you through the core technique, the sheer and jelly polishes that make it work, and four looks you can copy tonight.
You will learn the golden rules that keep layers from turning muddy, plus a few pro combinations trending right now. By the end, your existing collection will feel twice as big.
The Core Idea: Why Layering Works
Layering works because a translucent polish lets the color underneath show through while adding its own tint on top. Think of it like stained glass.
The bottom layer is the light, the top layer is the colored glass, and together they make something neither could alone.
The Polishes That Make Layering Work
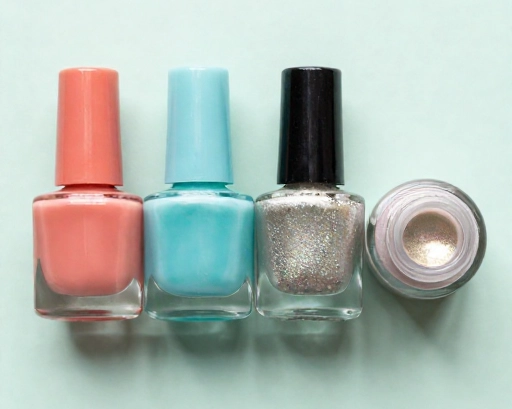
Not every polish layers well. These are the ones that turn one color into many.
Sheer and glossy like colored syrup. Adds a tint and a juicy glow while letting the base peek through.
Translucent with tiny shimmer or pearl. Shifts the base color and adds a soft glow.
Clear based with suspended glitter or holo flecks. Perfect for the jelly sandwich look.
Buffed over a base for a mirror or lit from within glaze. Very 2026.
The 4 Golden Rules of Layering
Break these and your custom color turns muddy or streaky. Follow them and it looks salon made.
4 Custom Looks You Can Layer Tonight
Here are four proven combinations, each with a before and after. Swap the exact colors for what you own, the technique stays the same.
Look 1: The Jelly Sandwich (Suspended Glitter)
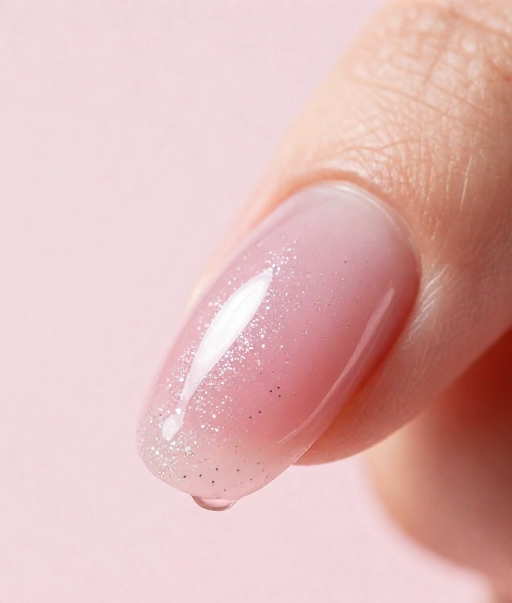
The classic. Glitter gets trapped between two sheer layers so it looks like it is floating inside glass.
A flat coat of glitter that feels rough and one note.
Glitter glowing inside a smooth, glassy jelly with real depth.
Sheer jelly base, then a thin coat of glitter, then another sheer jelly layer on top to bury the glitter. Finish with a glossy top coat.
Look 2: Color Shift (Turn One Shade Into Another)
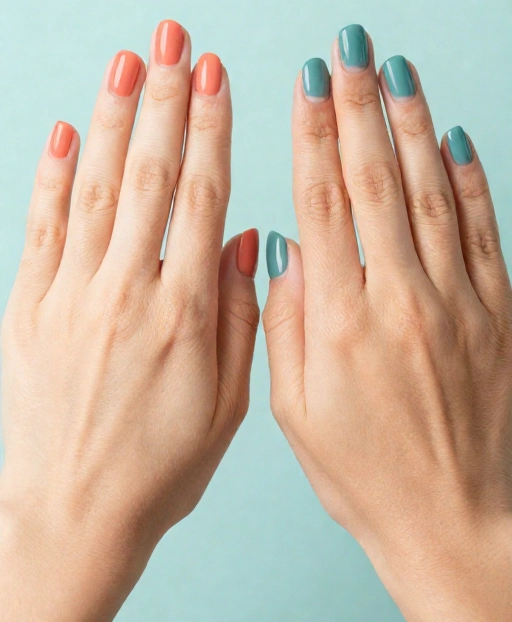
Layer a sheer tint over a solid base to nudge it somewhere new. Sheer blue over coral makes a dusky mauve. Sheer purple over red makes a deep berry.
| Base color | Sheer layer on top | New custom shade |
|---|---|---|
| Coral | Sheer aqua | Dusky teal coral |
| Red | Sheer purple | Deep berry |
| Nude | Sheer pink shimmer | Glazed rosy glow |
Look 3: The Glazed Donut (Chrome Over Color)
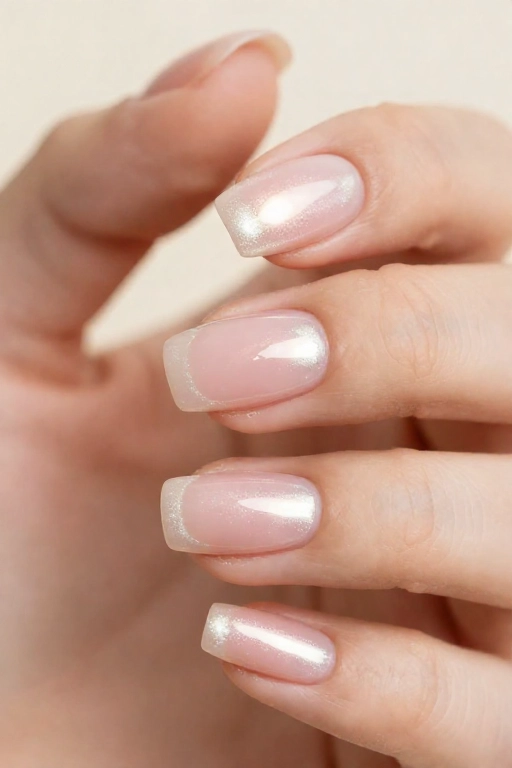
The lit from within glaze everyone wants. A pearly chrome powder buffed over any base makes it glow.
Paint your base color and let it dry.
Add a no wipe or regular top coat as the grip layer.
Gently buff pearl or chrome powder over the nail with a sponge applicator.
Seal with a glossy top coat for that wet glass shine.
Look 4: Soft Gradient (Sponge Layering)
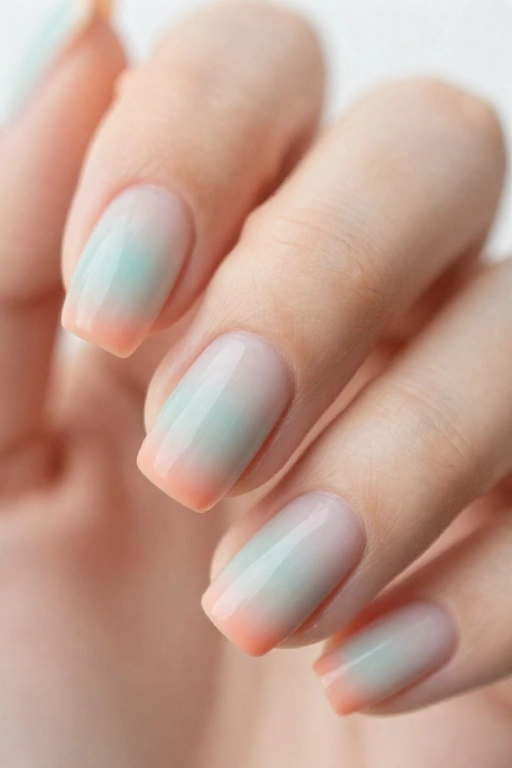
Two colors blending into each other, built up with a makeup sponge instead of the brush.
Dab your first color on the lower half of the nail, the second on the upper half, then press a lightly loaded makeup sponge over the middle where they meet. Build the blend in thin taps, dry, then top coat. The layering here is vertical instead of stacked.
Mistakes That Turn Layers Muddy
A quick list of what goes wrong, so you can skip it.
Drags the base into the top and muddies both. Always dry first.
Nails look thick and take forever to dry. Two or three thin layers is plenty.
Very different textures fight each other. Pick polishes with similar consistency.
A solid top layer hides the base completely. You need sheer for the effect.
2026 Layering Trends Worth Trying
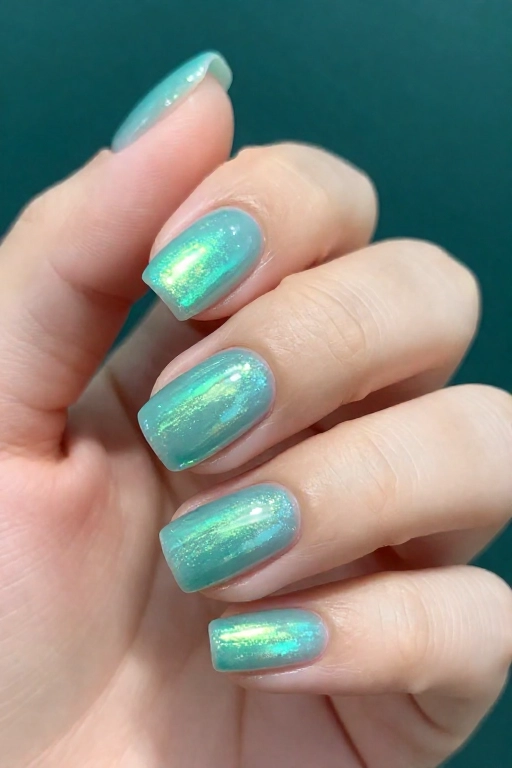
Layering is having a big moment, and these are the looks nail pros are loving.
Sheer syrup color topped with fine iridescent chrome for a stained glass glow.
A sheer milky base with a slightly deeper tip layered on for a soft modern French.
A whisper of chrome buffed over any solid color for quiet luxury shine.
Your Layering Cheat Sheet
Conclusion
Once you learn how to layer nail polish, your collection quietly doubles. That forgotten bottle in the back becomes the base for a color you have never seen. Keep the layers thin, let each one dry, start light and build deeper, and always test a bold idea on a swatch stick first.
From jelly sandwiches to glazed chrome, every look here starts with polishes you probably already own.
Save this cheat sheet to your nail board, and pin the combination you want to try first so it is ready on your next polish night.