
🔑 The short answer
Streaky polish happens because the formula is too thick, the coats are too heavy, or the brush technique needs a small fix. If the streaks are still wet, leave them alone and let the polish self-level. If they have dried, flood a glossy top coat over the nail in long strokes for minor streaks, or remove and reapply in thin coats for anything worse. Three thin coats beat two thick ones every time.
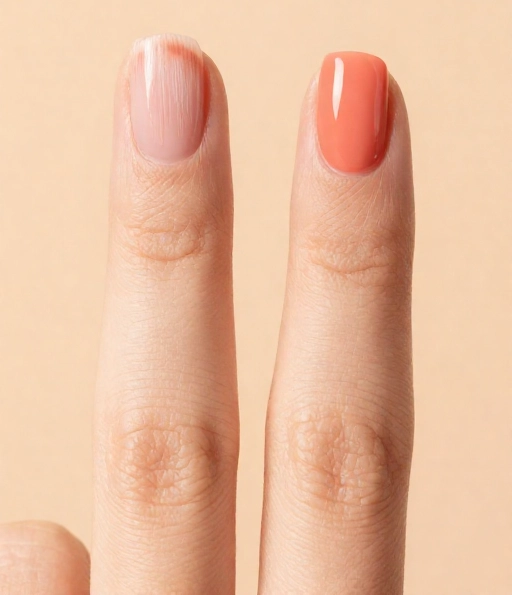
Few things feel as frustrating as stepping back from a fresh manicure and seeing brush lines running through the color. You loaded the brush, you painted carefully, and it still looks uneven.
Here is the thing, streaky polish is rarely about the brand you bought. It is almost always a technique and prep issue, and once you know the fix, it takes less than three minutes to sort out.
This guide on how to fix streaky nail polish starts with what to do right now if your nails already look streaky, then covers why it happens, how to prevent it next time, and a special section for the notoriously difficult colors like white, pastel, and neon. Everything is backed by real nail tech advice, not internet guesswork.
Already Streaky? Start Here (The 3 Step Fix)
This is the part you need first. Whether the polish is still tacky or fully dry, here is exactly what to do.
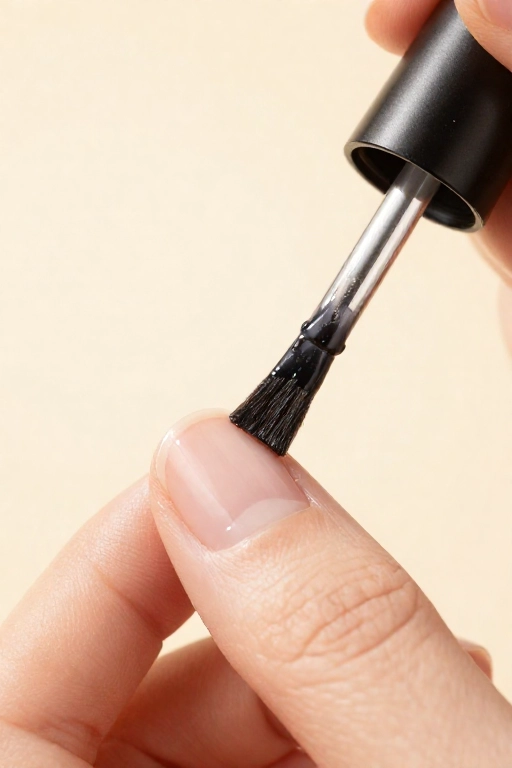
Thin polish often self-levels as the solvents settle. Touching it while tacky drags the layer and makes streaks worse. Set your hand flat on a surface and wait two full minutes.
Load the brush with a generous amount of glossy top coat and lay it across the nail in one long, even stroke from cuticle to tip. The thick top coat fills the tiny grooves and evens the surface. Do not go back over it.
Wipe the nail clean with remover, prep the surface, and repaint using the thin coat method below. Adding more color coats over dry streaks will not hide them. It makes them thicker and more visible.
Why Is My Nail Polish Streaky
Understanding the cause keeps the fix from being temporary. Most streaking traces back to one of these six culprits, and once you spot yours, the prevention section below clicks into place.
Solvents evaporate over time, leaving a gloopy formula that drags instead of flowing smooth.
Heavy layers do not self-level. Every brush stroke stays visible and dries unevenly.
Going back to fix a spot while the coat is still setting drags the polish and creates new streaks.
Painting over a tacky layer pulls the coat underneath and blends the two into a mess.
Natural oils make polish slide unevenly. Ridges create tiny valleys where color pools.
Whites, pastels, and neons carry heavy pigments that settle unevenly and show every flaw.
How to Prevent Streaks Next Time
Now that you know the causes, here is your prevention plan split into two parts: what you do before any color, and how you actually paint it.
Prep the Nail
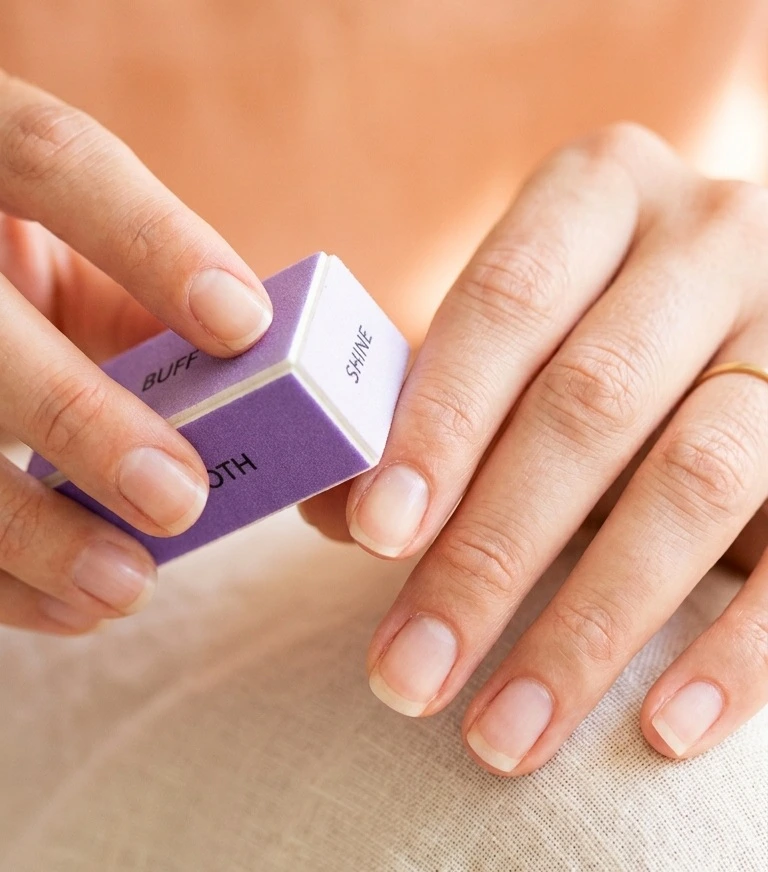
Good prep creates a smooth, clean canvas that polish can grab onto. Skip this and even the best formula fights you.
File in one direction with a fine or glass file.
Lightly buff the surface to smooth ridges and create grip.
Wipe each nail with alcohol to remove oils. No lotion before painting.
A ridge-filling base fills tiny grooves and gives color a smooth start.
Paint It Right (The Three Stroke Method)
This is the brush move that stops most streaking. It takes about five seconds per nail once you get the rhythm.
A few small details that make the method work.
Load the brush right. Dip, then wipe one side of the brush on the bottle neck. The loaded side faces the nail. You want a bead of polish, not a dripping glob.
Light pressure, let the brush glide. Pressing hard fans the bristles and leaves gaps between them. Hold the brush at a slight angle and let the weight of the polish do the spreading.
Work fast, then stop. Five to ten seconds per nail. Once the three strokes are down, leave it. Going back to touch up a spot while it is still wet is the classic mistake that creates new streaks.
Two to three thin coats will always look smoother than one or two thick coats. Thin layers self-level as the solvents settle. Thick layers trap brush strokes and stay bumpy.
Wait about two minutes between each coat. The polish should not feel sticky when you touch the edge of the nail gently before adding the next layer.
Rolling vs Shaking: Fix Your Polish Before You Open It
If the bottle feels thick or the pigment has separated, how you mix it matters more than most people think.
Hold the bottle between your palms and roll it back and forth for ten to fifteen seconds. This mixes the pigment evenly without creating air bubbles.
Shaking introduces tiny air bubbles that sit inside the polish and read as bumps and streaks once the coat dries. Skip the shake.
If the polish is still thick after rolling, add two or three drops of nail polish thinner (not remover, not acetone) and roll again.
Thinner replaces the solvents that evaporated. Remover breaks the formula down and causes chipping and streaking.
The Tricky Colors: White, Pastel, Neon, and Sheer
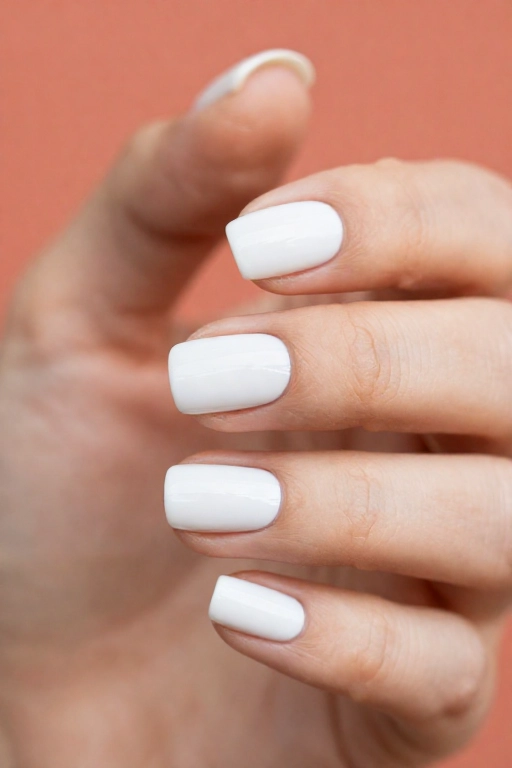
Some shades streak no matter how good your technique is, and there is a real reason behind it. White and pastel formulas carry heavy doses of titanium dioxide, a pigment that thickens the polish and settles unevenly. Dark colors absorb light and hide tiny flaws. Light colors reflect it and put every flaw on display.
Here is how to handle them.
It fills the tiny surface grooves that white and pastel colors love to settle into.
Light colors need one extra coat for full, even coverage. Keep every coat thin and let each dry before the next.
Slightly more polish on the brush means fewer strokes, which means fewer chances for streaks. Do not wipe too much off on the bottle neck.
Base coat, one thin color coat, matte top coat (dry), one to two more color coats, then a glossy top coat. The matte layer in between gives the color something textured to grip, and the final coat seals everything smooth.
4 Myths That Make Streaking Worse
A lot of common advice quietly works against you. Here is what to skip.
Self Leveling Formulas and Wide Brushes
If streaking has always been your struggle, the newer polish formulas are working in your favor. Self leveling polishes are designed to settle into a smooth surface on their own after the brush leaves the nail. They are becoming standard across both regular lacquer and gel lines for 2026.
Look for the phrase “self leveling” or “creamy” on the label. Wide, flat brushes that cover the nail in fewer strokes are also showing up in more bottles, cutting down on brush lines before they start.
The polish settles and smooths out on its own after you stroke it on. Less technique dependence, fewer visible brush marks.
Covers the nail in two to three strokes instead of five or six. Fewer strokes means fewer chances to leave a streak.
These are not a replacement for thin coats and proper prep. They just make the whole process more forgiving when you are in a hurry.
Your Full Streak Free Routine at a Glance
Conclusion
Now you know how to fix streaky nail polish whether the damage is already done or you want to stop it before it starts. The three step fix handles the emergency. The prep and three stroke technique prevent it from happening again. And for those stubborn whites and pastels, the matte sandwich trick is worth trying at least once.
None of this requires new tools or expensive polish, just a small shift in how you load the brush, how thin you keep the coat, and how long you wait. Save this checklist to your nail board so it is there the next time a coat looks a little off, and pin the tip that helped you the most.