
Dark polish shows every slip, so the trick is control, not speed. Use a stain blocking base coat, leave a hairline gap at the cuticle, paint two to three thin coats with the three stroke method, and clean up stray edges with an angled brush dipped in acetone before the polish sets. Finish with a glossy top coat and let each layer dry fully, since dark shades take longer.
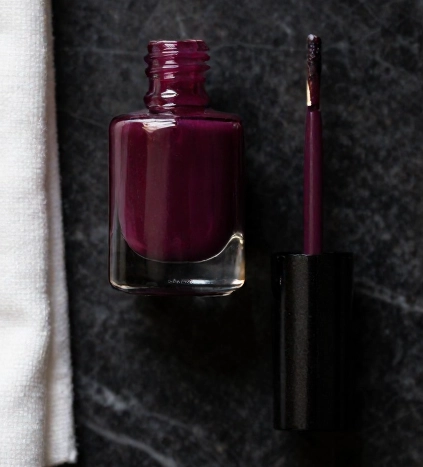
Dark nail polish looks stunning, right up until one messy edge ruins the whole thing. Deep shades like black, oxblood, navy, and plum are beautiful because they are bold, but that same richness makes every stray mark and flooded cuticle jump out.
A nude smudge hides. A black smudge announces itself.
The good news is that a clean dark manicure is not about a magic product or a steady surgeon’s hand. It comes down to a few small habits that give you control.
This guide on how to apply dark nail polish walks you through prep, the exact brush technique, how to keep color off your skin, and the cleanup move that fixes mistakes in seconds. Master these and your deep shades will look like they came straight from a salon.
Why Dark Polish Is Harder (and How That Shapes Your Approach)
Before the steps, it helps to know what you are up against. Every rule below exists to solve one of these three problems.
Step 1: Prep for a Clean Canvas
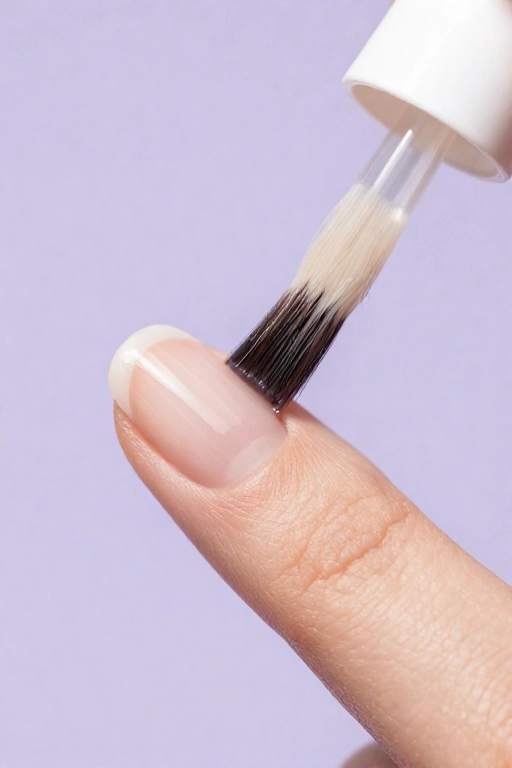
Dark polish rewards good prep more than any other color. Two minutes here prevents most of the mess later.
The more nail surface you expose, the less likely polish is to catch on skin. Gently push back, do not cut.
A quick buff plus an alcohol swipe removes oil so color goes on even and holds longer.
This is non negotiable with dark shades. It stops the pigment from staining your nail yellow and gives color a smooth grip. Let it dry fully.
Step 2: The Hairline Gap Rule
This single habit separates a clean dark manicure from a messy one. Instead of painting right up to the skin, you leave a whisper of space.
Leave a tiny gap between the polish and your cuticle and sidewalls. It reads as clean from every angle, and it is far easier than trying to scrub off a flood later.
A hairline gap almost disappears once the top coat goes on, but a flooded cuticle looks messy no matter what. When in doubt, stay a hair short of the skin.
Step 3: The Three Stroke Application
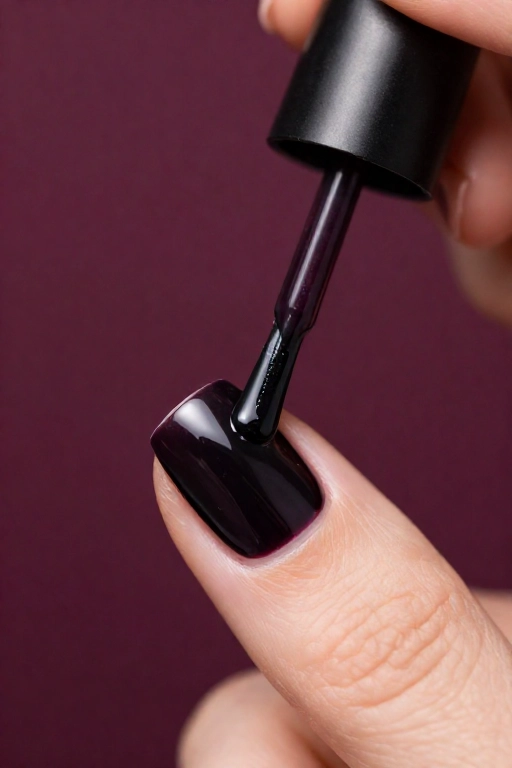
Now the color. Load the brush, then use three clean strokes per nail. Fewer strokes mean fewer chances to drag color onto skin.
Place the brush a hair away from the cuticle, push up gently, then glide down the middle.
One stroke down the left, one down the right, following the curve of the nail.
Swipe the brush across the free edge to seal it and stop early chipping.
Two thin coats, sometimes three. Dark polish often looks streaky on the first coat. Do not panic and do not pile it on. The color evens out beautifully by the second or third thin coat. Thick coats stay soft, dent easily, and take much longer to dry.
Wait longer between coats. Because dark shades are so pigment dense, they dry slower than pale colors. Give each coat three to five minutes. Touch the edge gently to check, it should feel dry, not tacky.
Step 4: Clean Up Like a Pro
Even with a careful hand, a little color may stray. This is normal, and the fix takes seconds. This step is what makes a home manicure look professional.
For a big flood, skip the tiny brush. Wrap an acetone soaked cotton pad around the whole nail for thirty seconds, wipe it clean, and repaint just that one nail.
Step 5: Seal and Finish
The final coat locks everything in and gives dark polish its glassy, expensive looking shine.
Apply one even layer over the whole nail, capping the tip again. It smooths the surface and deepens the color.
Dark polish stays soft underneath longer than it looks. Wait before touching anything, and skip hot water for a couple hours.
Dark Shade Quirks Worth Knowing
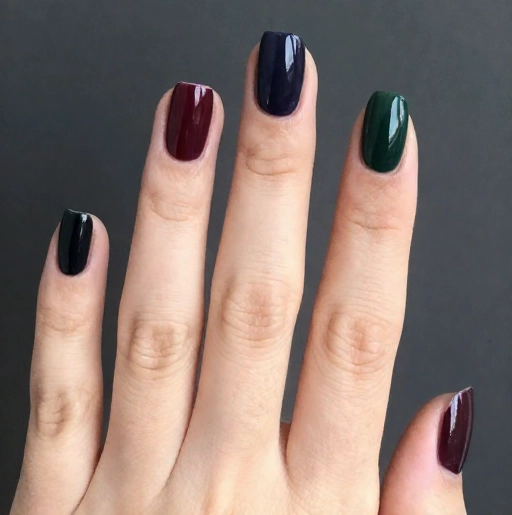
Not every dark color behaves the same. A quick guide to the popular ones.
| Shade | What to watch |
|---|---|
| Black | The least forgiving. Every edge shows, so cleanup is essential. Two thin coats usually reach full opacity. |
| Oxblood / Burgundy | Stains the nail easily. Never skip the base coat with red based darks. |
| Navy | Can look patchy on coat one. It evens out by coat two, so resist over brushing. |
| Deep Plum | Forgiving and rich. A good first dark shade to practice with. |
| Dark Green | Shimmer versions hide streaks well. Cream versions need thin, even coats. |
Mistakes to Avoid
A quick rundown of what quietly ruins a dark manicure.
Dark Nail Trends to Try
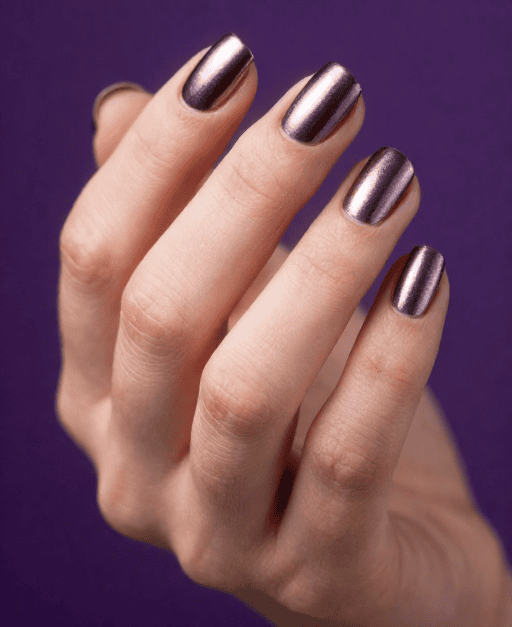
Dark is having a big moment, and the finishes have gotten more interesting than plain black.
A deep base with a pearly chrome shimmer on top for a wet, glassy glow.
Oxblood, deep emerald, and inky plum reading rich and expensive year round.
A mirror metallic finish over a dark base for high shine drama.
Your Clean Dark Manicure at a Glance
Conclusion
Learning how to apply dark nail polish comes down to control, not luck. Prep a clean canvas, block stains with a base coat, leave that hairline gap, paint in thin confident strokes, and clean up any stray color before it sets.
Those few habits turn a shade that used to feel intimidating into your favorite look. Dark polish is bold and elegant, and now you have the technique to wear it without a single messy edge.
Save this checklist to your nail board so it is ready for your next moody manicure, and pin the tip that clicked for you.