
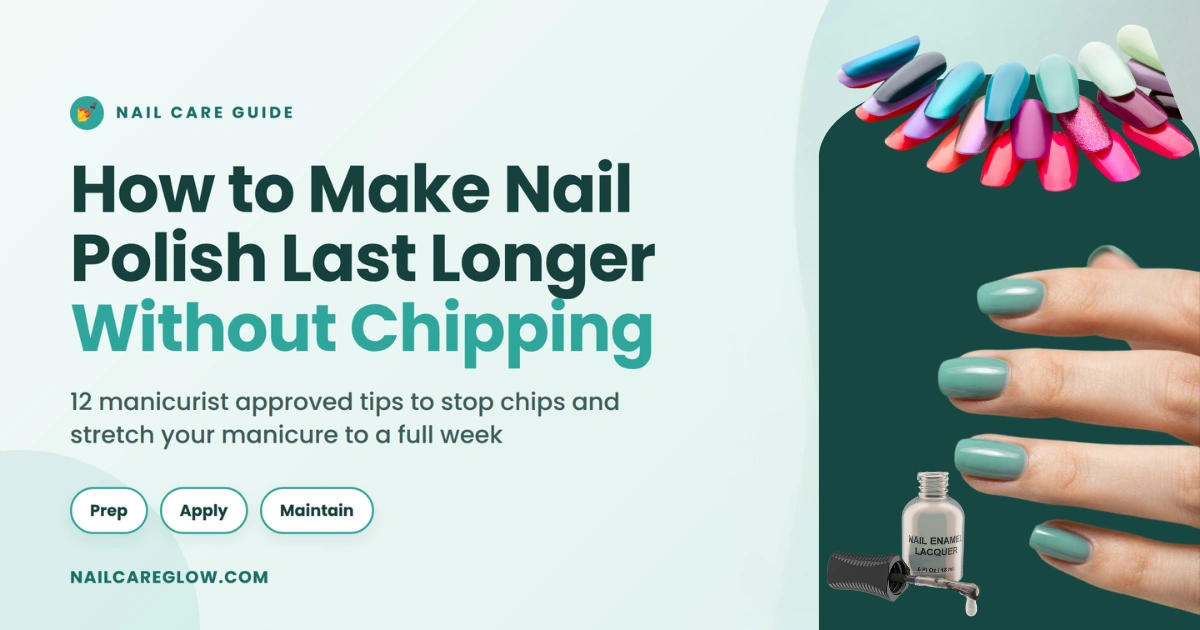
You spend an hour painting your nails, they look glossy and clean, then by day two a corner lifts and the whole thing looks tired. That fast fade is not bad luck.
It is almost always a small step missed before, during, or after the polish went on. Once you learn how to make nail polish last, the fix is simple and it costs nothing extra.
Here is the honest part first. Regular polish is built to last around five to seven days, not three weeks. But most people lose it in one or two, and that gap is fixable.
This guide walks you through the full routine in three easy stages, prep, apply, and maintain, with the exact tricks nail techs use. You will learn why polish chips in the first place, the prep step almost everyone skips, the one brush move that stops chips at the tip, and the daily habit that stretches a manicure to a full week.
There is a myth section too, because a few popular tricks quietly work against you.
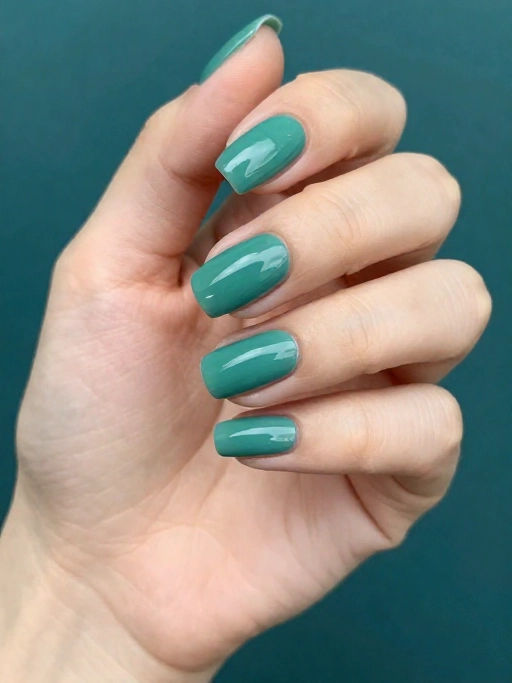
Why Does Nail Polish Chip So Fast
Before the tips, it helps to know the enemy. Chipping almost always traces back to three root causes. Fix these and everything else falls into place.
Natural oils and lotion stop polish from gripping. It slides off like paint on grease.
Fix: wipe with alcohol first.
Heavy layers stay soft underneath, flex when you move, and crack.
Fix: thin coats, fully dry.
Chips almost always start at the free edge when the tip is left open.
Fix: cap the edge every coat.
The 3 Stage System
Everything below sorts into three stages. Keep this map in your head and the routine feels effortless.
Stage 1: Prep Your Nails the Right Way
Nail techs will tell you the manicure is won or lost before the color ever touches the nail. This stage takes two minutes and it is the part almost everyone skips.
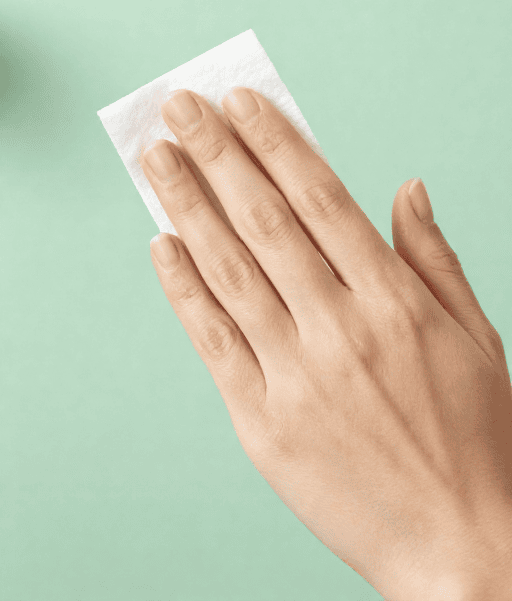
Wash, then dehydrate the plate. Scrub your hands and nails with soap first, let them dry, then swipe each nail with isopropyl alcohol at 75 percent or higher. Alcohol pulls off oil and dust so polish can actually grab on. Skip acetone here, it leaves a residue that makes polish chip faster or refuse to dry.
Do not soak your nails. This one surprises people. Soaking makes nails swell with water, then they shrink as they dry and crack the fresh polish. A dry start holds far better.
Push back cuticles, do not cut them. Gently push the cuticle back so polish sits on the nail, not on skin. Cutting them opens the door to infection and does not help the polish. Any color painted over cuticle skin peels off as that skin sheds.
Wipe each nail with alcohol.
File in one direction only.
Buff lightly for a matte grip.
Soak nails before painting.
Saw the file back and forth.
Add lotion or oil right before.
Stage 2: Apply for Maximum Wear
Good prep gives the polish something to hold. Now the goal is layers that dry hard and edges that stay sealed. Follow these in order.
A sticky base coat gives color something to grip and stops staining. Never skip it.
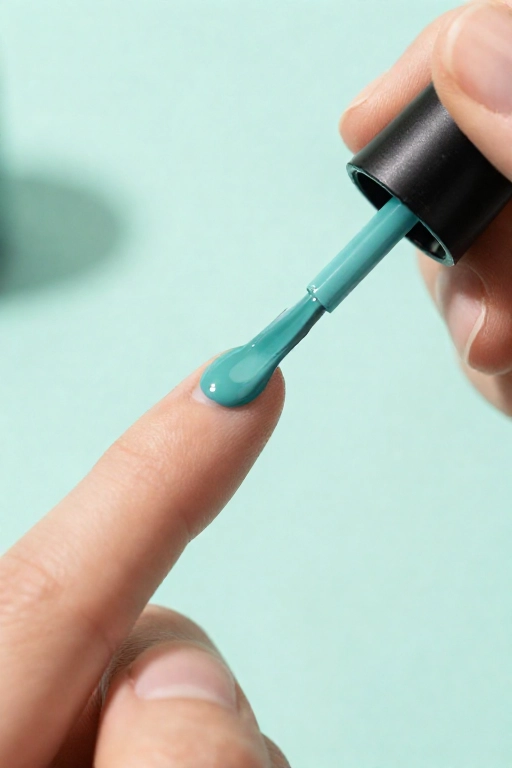
Use the three stripe move, one line down the middle, then one on each side. Let each coat dry before the next.
Run the brush along the very tip of each nail with base, color, and top coat. This is the pro secret that stops chips.
A quality top coat locks in color and adds the glossy shield that fights daily wear.
The tip sealing move deserves a spotlight, because it is the single biggest change you can make.
Always paint a stripe across the tip of the nail. Chips start at the free edge, so sealing it there is what makes color hold for days longer.
Stage 2.5: Dry It Right
Rushing here undoes everything. Wet polish under a dry surface dents and lifts. Give it real time.
Use cool air or a fan, never hot air.
Wait a couple hours before hot water or dishes.
Quick dry drops help thin coats set faster.
Stage 3: Maintain It All Week
The manicure is on. Now a few small habits keep it there. This stage is where a good manicure becomes a week long one.
Gel vs Regular Polish: What Lasts Longer
Sometimes the fastest way to stop chipping is to change the product. Here is how the main options stack up so you can pick by your week ahead.
| Type | Wear | Lamp | Best for |
|---|---|---|---|
| Regular lacquer | 5 to 7 days | No | Quick color changes |
| Gel effect, no lamp | 7 to 14 days | No | Longer wear, easy removal |
| True gel | 2 to 3 weeks | Yes | Maximum shine and hold |
| Dip or acrylic | up to 4 weeks | Varies | The most durable option |
Going gel at home? The same rules apply, only stricter. Prep and degrease well, cap the edge, cure fully in the right lamp, and never peel gel off. Soak it off with acetone so you do not tear the nail surface.
5 Myths That Are Ruining Your Manicure
A few popular tricks feel smart and quietly work against you. Here is the truth, straight.
2026 : Gel Effect and Clean Long Wear Formulas
If you want gel like wear without the lamp, this is a good year for it. Air dry, long wear polishes have come a long way.
Options like OPI Infinite Shine, CND Vinylux, and Sally Hansen Miracle Gel promise around a week to two of shine with no UV light.
One honest label note, these are gel effect lacquers, not true gel, which still needs a lamp to cure.
Clean formulas are also everywhere now, free from many of the harsher ingredients, so you can chase longer wear and a shorter ingredient list at once.
Air dries in minutes, wears about a week to two, removes like normal polish.
Free from many harsher ingredients, with durable finishes that still hold for days.
Quick Recap (great as a save pin)
Conclusion
Learning how to make nail polish last comes down to one idea, treat the whole manicure as three stages instead of just the color.
Prep the nail so polish can grip, apply thin coats and seal every tip, then protect it with oil, gloves, and a fresh top coat through the week.
None of it is fancy, and none of it costs more than what is already in your kit. Skip the ice water trick, keep your bottles at room temperature, and let each coat dry all the way.
Save this checklist to your nail board so it is ready before your next manicure, and pin your favorite tip to come back to.