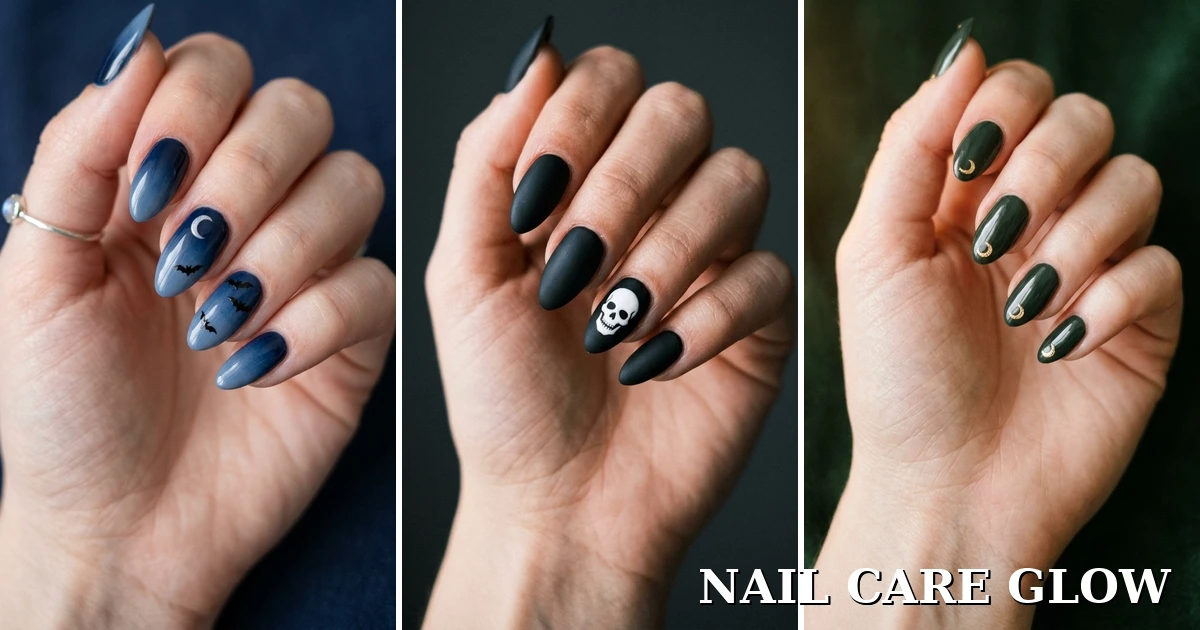
Halloween nails get treated like they need a salon budget and three hours of steady hands. They don’t. Half the looks people save on Pinterest start with one accent nail and a shade you probably already own.
The tricky part is picking a design that reads as festive without looking like a kid painted it during recess. Cute and creepy can share the same hand if you balance them right. One spooky nail, a few soft ones, done.
This list keeps things doable. Some designs lean sweet, some lean eerie, and a few sit right in the middle so you can match your mood or your costume.
1: Matte Black Ghost Tips
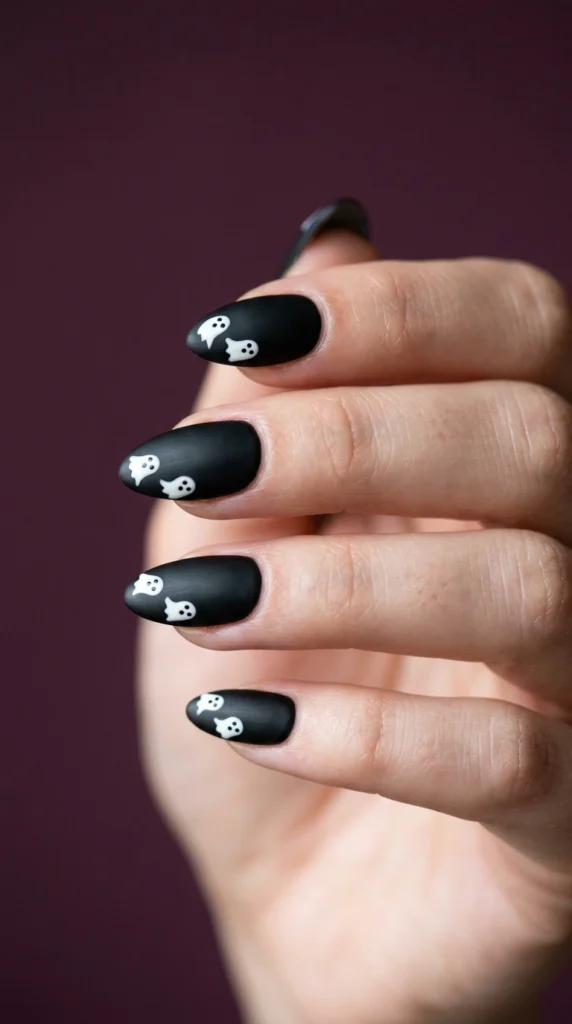
Little white ghosts floating on a flat black tip look far harder than they are.
Paint your nails matte black first and let them dry fully. Then dot two small white ovals near the tip, drag a tiny tail down from each, and add two black dots for eyes with a toothpick. A matte top coat kills the shine and sells the spooky feel. Keep the ghosts slightly uneven.
2: Glossy Blood Drip Nails
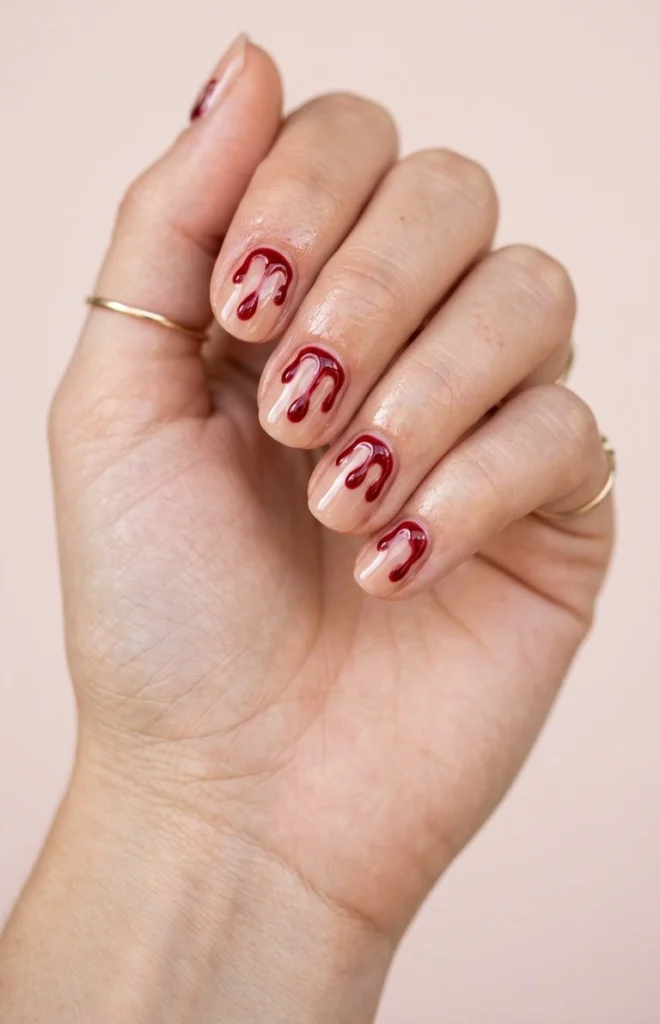
The drip design gets the most saves for a reason. It looks dramatic from across the room and takes about ten minutes once your base is dry.
Start with a glossy nude or pale base so the red pops. Load a thin brush with deep red and paint short blobs at the cuticle, then pull uneven drops downward. Vary the drip length.
3: Pastel Purple Spiderweb Accent
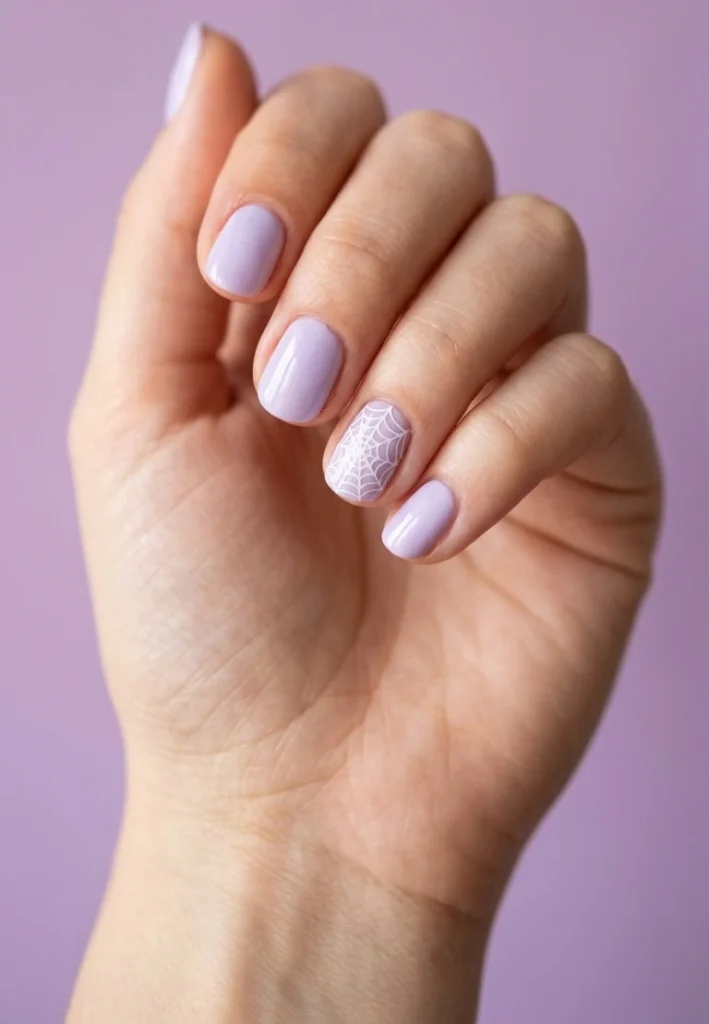
Full spiderweb nails on every finger get busy fast.
Keep the web on one accent nail and paint the rest a soft pastel purple. The contrast does the work. For the web, place a small dot off center, draw three or four lines out from it like spokes, then connect them with curved lines using a striping brush or a toothpick.
4: Candy Corn Ombre Look
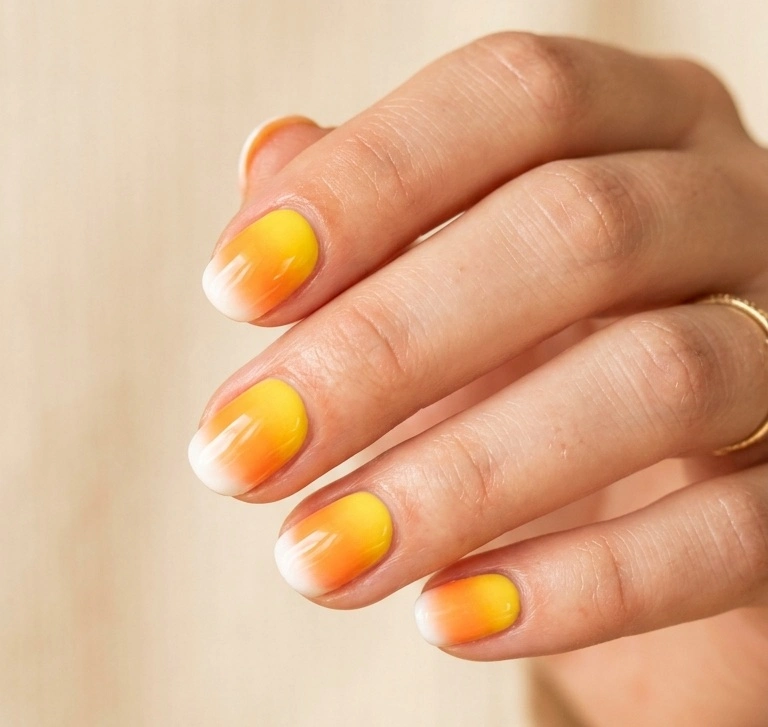
Candy corn nails skip the messy stripes and blend three colors into a soft fade.
You need white, orange, and yellow. The gradient hides shaky hands, so this one forgives beginners. Seal it with a glossy top coat so the colors look like real candy instead of chalk. Best on shorter nails where the fade fills the whole nail.
5: Glow In The Dark Skeleton Hands
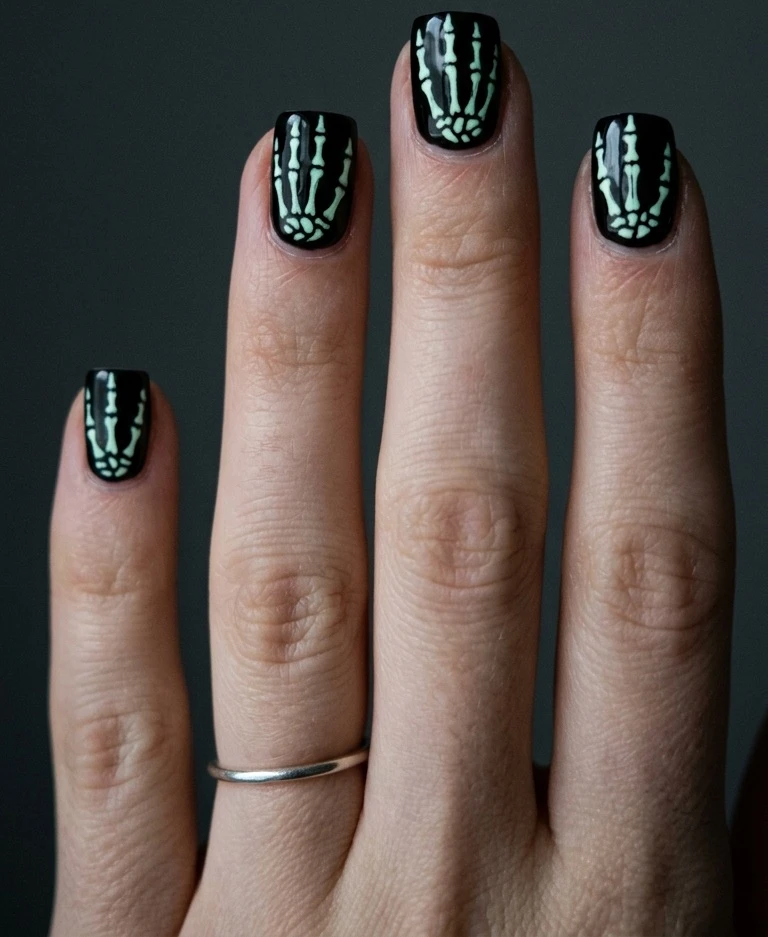
Flip the lights off at a party and glow polish turns a plain skeleton design into the thing everyone asks about.
Paint tiny bones on each nail with glow in the dark polish over a black base. In daylight they read as faint white lines. In the dark they light up on their own. Charge them under a lamp for a minute before you head out.
Faint white bone lines on a black base. Looks subtle and a little plain up close.
The bones glow bright green white and the whole hand reads as a floating skeleton.
6: Pumpkin Orange Mirror
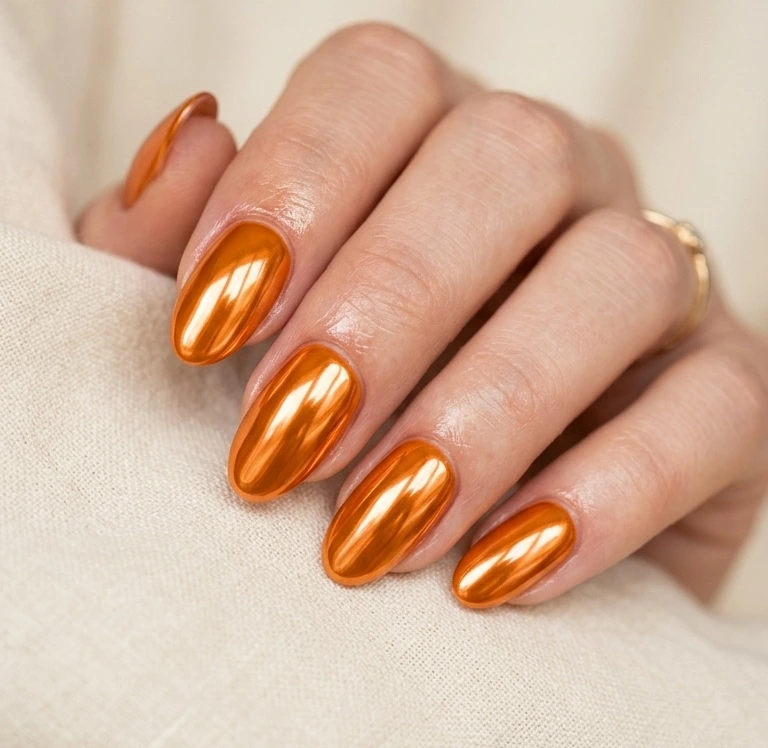
Chrome nails catch light like glass, and in a warm pumpkin orange they look like polished candy.
You need a color base plus chrome powder to get the mirror finish. Regular metallic polish looks flat next to real chrome, so the powder step matters. Rub it in until the surface turns reflective, then lock it under a top coat fast before it dulls.
7: Cute Bat French Tips
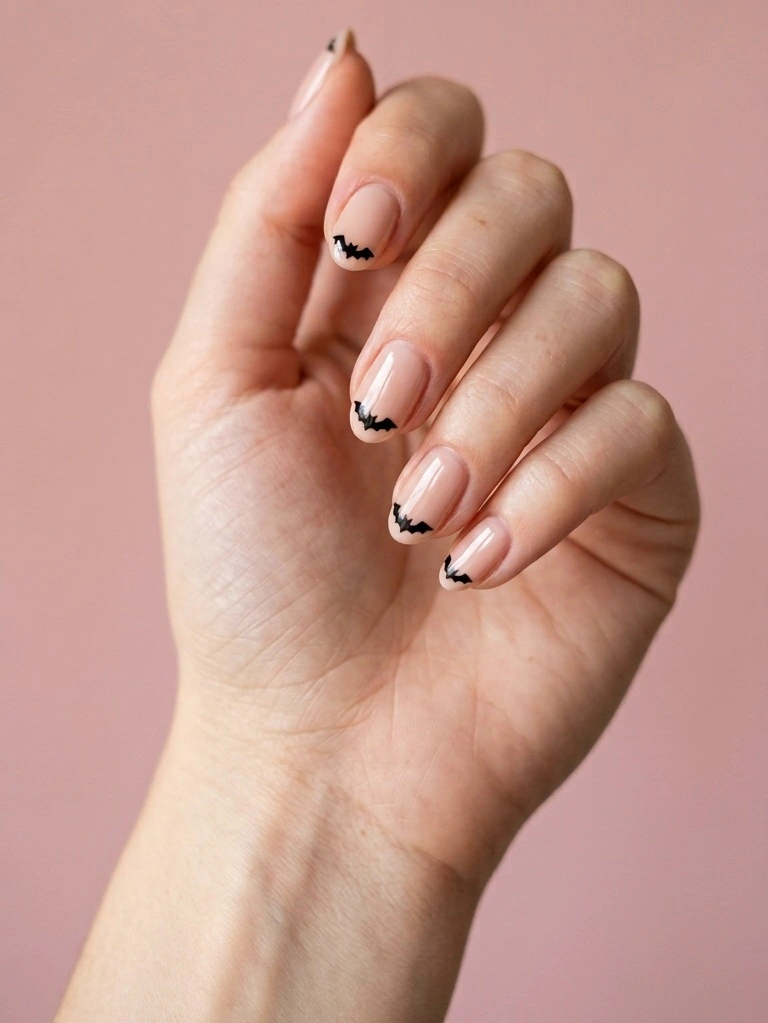
Swap the classic white French tip for a tiny black bat and the whole look turns Halloween without going heavy.
Paint your base a soft pink or nude first. On the tips, use black to shape a small bat with two little wings instead of a straight line. Keep the bats near the free edge so they read as a modern French.
8: Smiley Jack-O-Lantern Faces
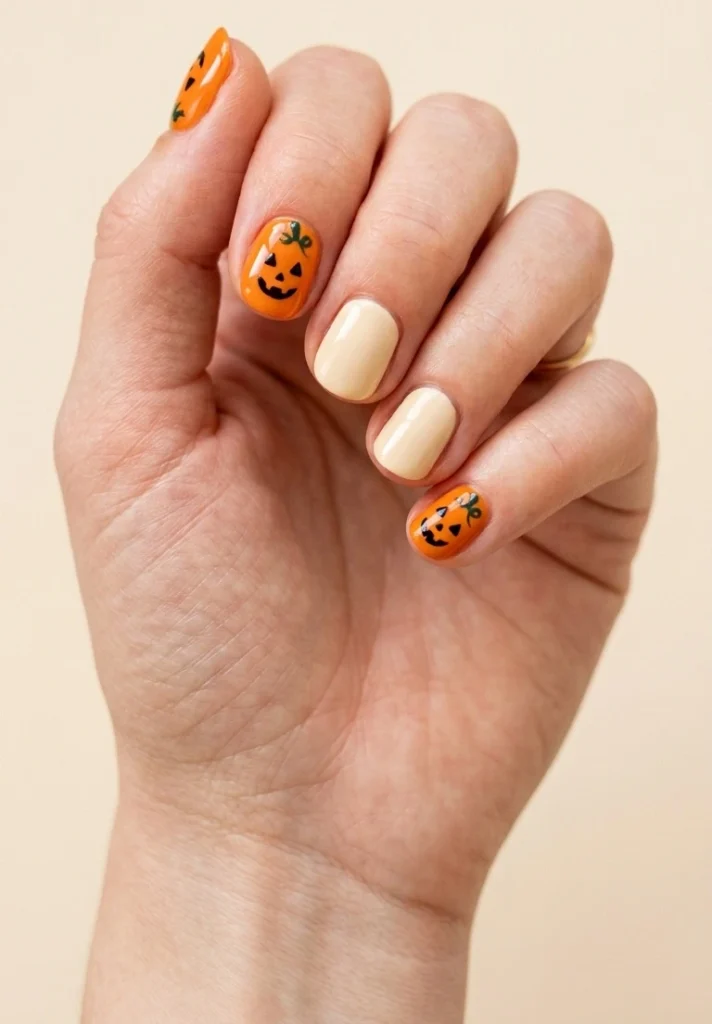
A little carved pumpkin face on an orange nail is the friendliest design on this list.
Paint two or three nails pumpkin orange and leave the rest a warm cream. On the orange ones, add a small black triangle nose, two triangle eyes, and a wide toothy grin. A tiny green stem at the cuticle finishes it.
9: Mummy Wrap Nude Nails
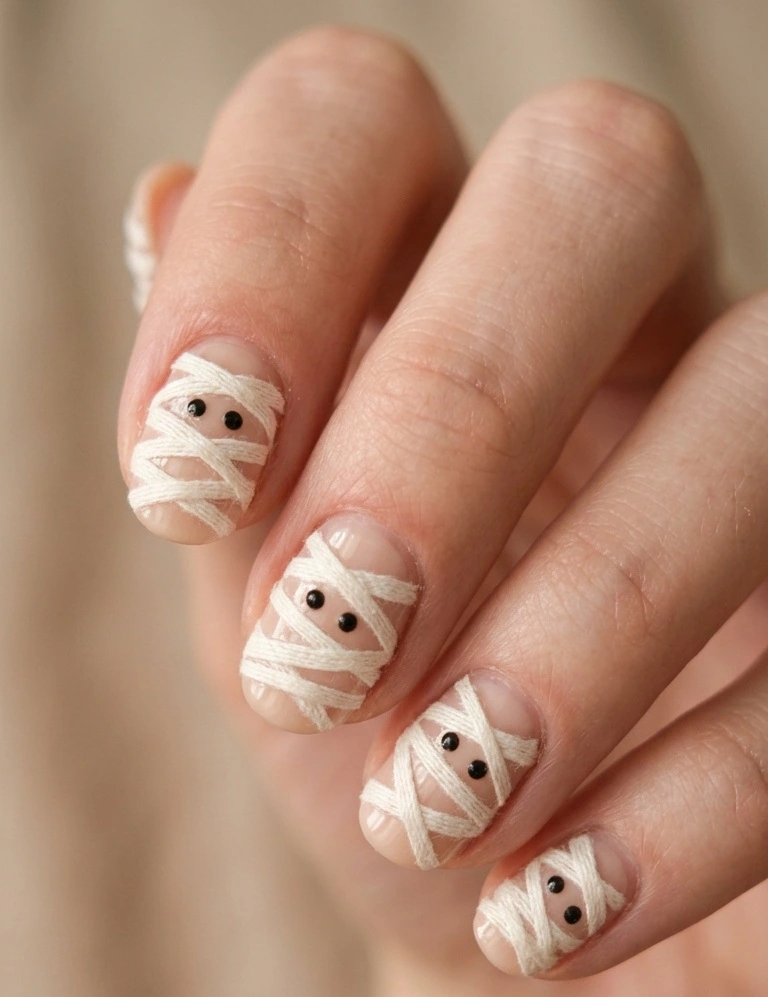
Thin white strips crisscrossing a nude base turn your nails into little wrapped mummies, tiny eyes and all.
Start with a nude or beige base. Using white striping polish, drag uneven lines across each nail at different angles so they overlap like bandages.
Uneven, overlapping strips sell the mummy look. Neat parallel lines just look like stripes, so let the wraps cross at odd angles.
10: Witchy Green Gold Moons
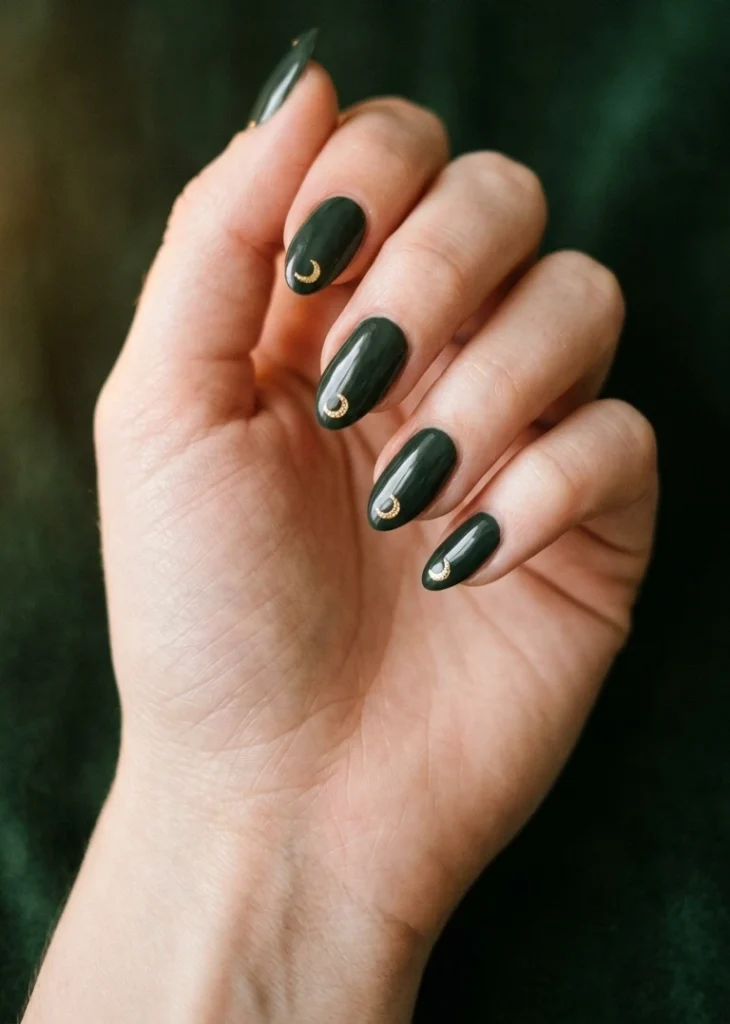
Deep witchy green paired with a thin gold crescent moon feels mystical without any fuss.
Paint all nails a dark forest green and let them cure. Then, on one or two accent nails, use a gold striping brush or a fine liner to draw a slim crescent near the tip. Gold foil flakes pressed into a still-wet top coat work too if freehand feels risky.
11: Velvet Plum Cobweb Foil
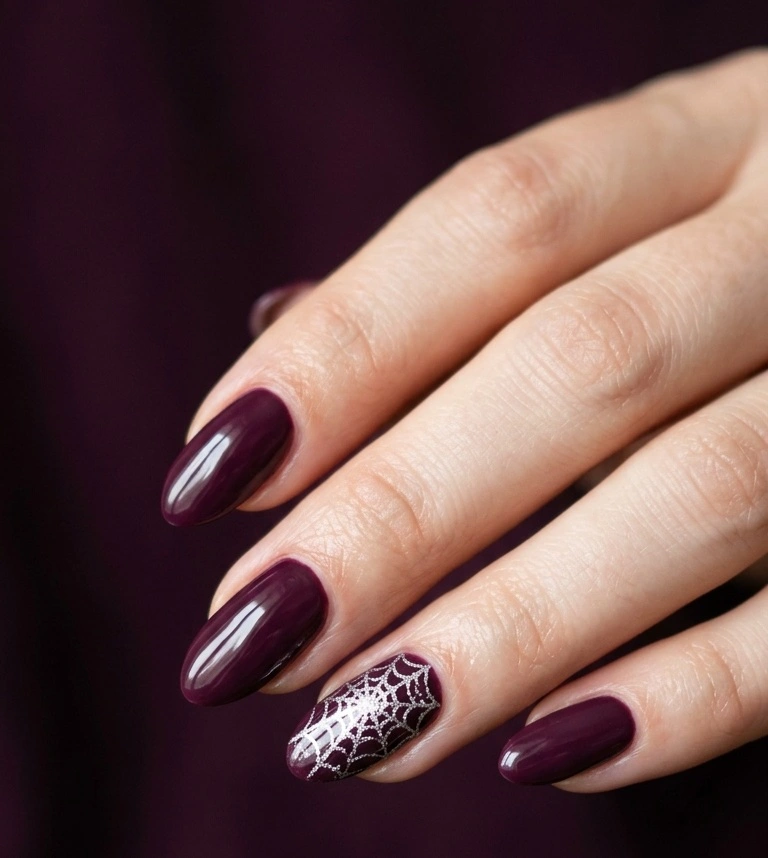
Deep plum with a whisper of silver cobweb foil looks expensive and a little haunted at the same time.
Paint a rich plum base, two coats for depth. While the top coat is still wet on one accent nail, press thin silver transfer foil in a loose web pattern and peel it back slowly. The foil grabs only where it touches, leaving a broken, spidery shine.
12: Frankenstein Green Colorblock
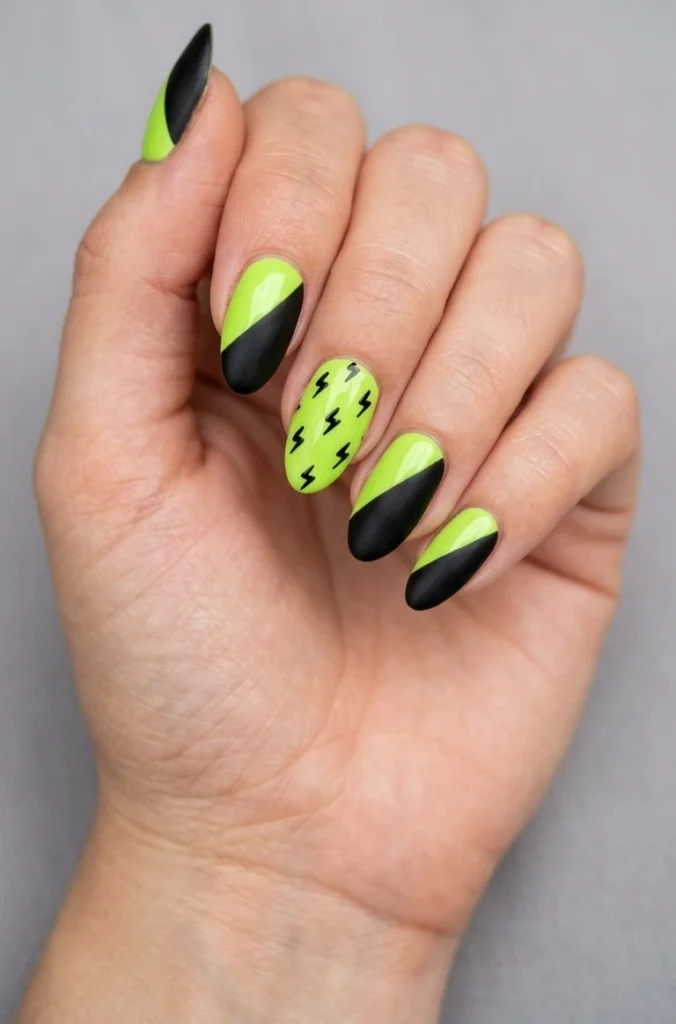
Bright green and flat black split across each nail give you a friendly Frankenstein feel without a single face.
The colorblock does all the work here. Paint the bottom half of each nail bright lime green and the top half black, then split them with a clean diagonal or straight line.
13: Boo Ghost Lettering Nails
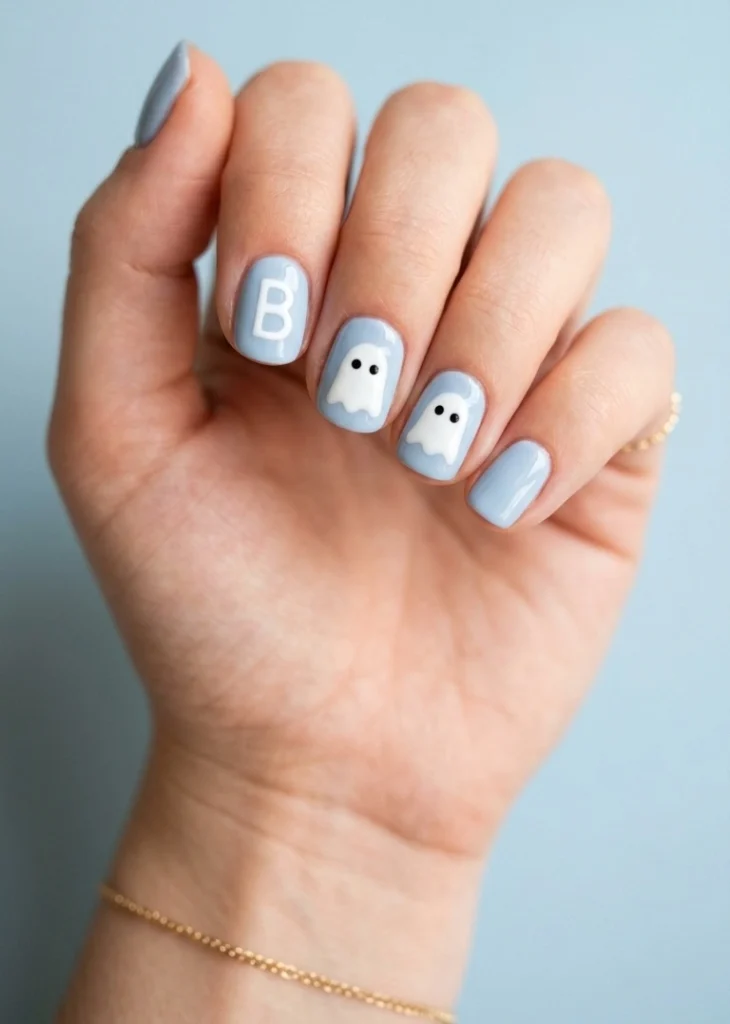
Spelling out B O O across three nails with a little ghost as the O is the kind of design people zoom in on.
Pick a soft base, pastel blue or pale grey works well. On three nails, hand letter a bold black B, then two round ghost shapes as the double O, each with dot eyes. Keep the other nails plain so the word stands out.
14: Smoky Marble Black Grey
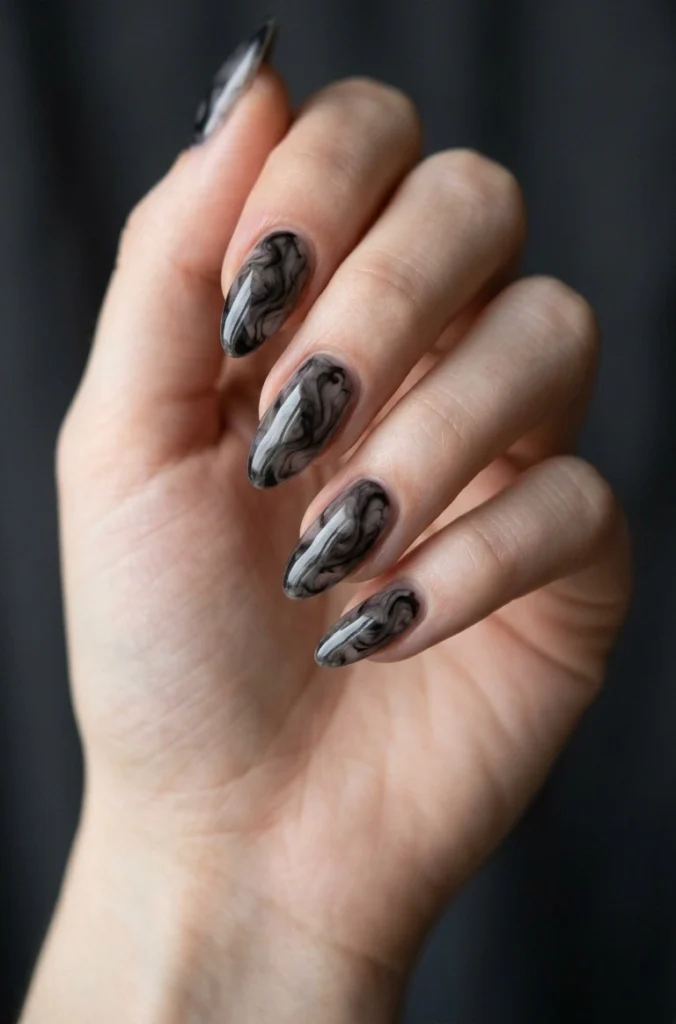
Swirled black and grey marble looks like drifting smoke and needs zero drawing skill.
This is a water free marble done right on the nail. Paint a grey base, then drop small dots of black and white polish on top while wet and swirl them gently with a toothpick. Stop early. Over swirling turns it to mud.
15: Glitter Spiderweb Gradient
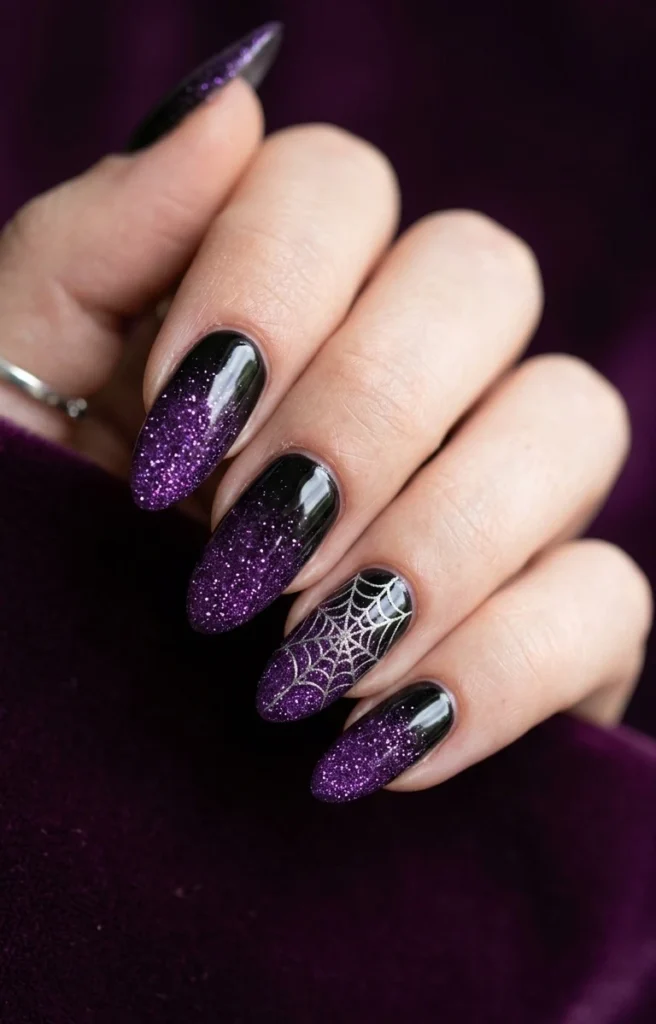
A dark base fading into glitter with a fine web on top is the sparkliest way to do spooky.
Start black at the cuticle and sponge a deep silver or purple glitter toward the tips so it fades like a night sky. Once dry, add a thin white or silver web over one or two nails.
16: Purple Orange Halloween Plaid
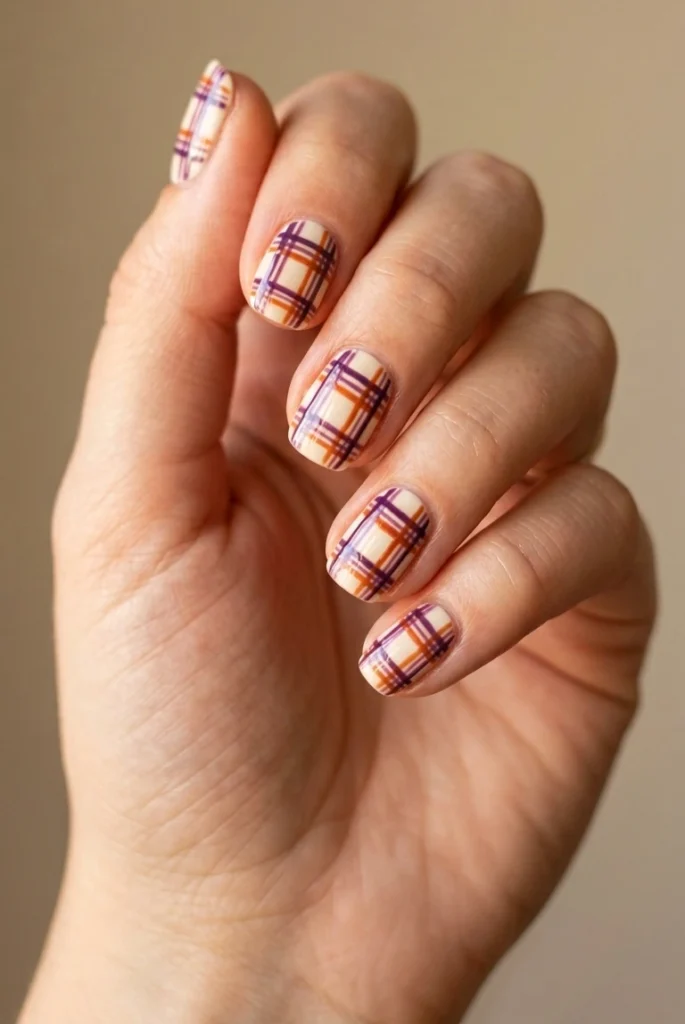
Plaid nails feel cozy and fall ready, and a purple orange mix keeps them tied to Halloween instead of plain autumn.
Paint a cream or black base first. Then lay thin orange and purple lines crossing at right angles like fabric, some thick, some thin, to build the plaid grid. A fine liner brush makes the crosshatch cleaner.
17: Skull Accent Almond Nails
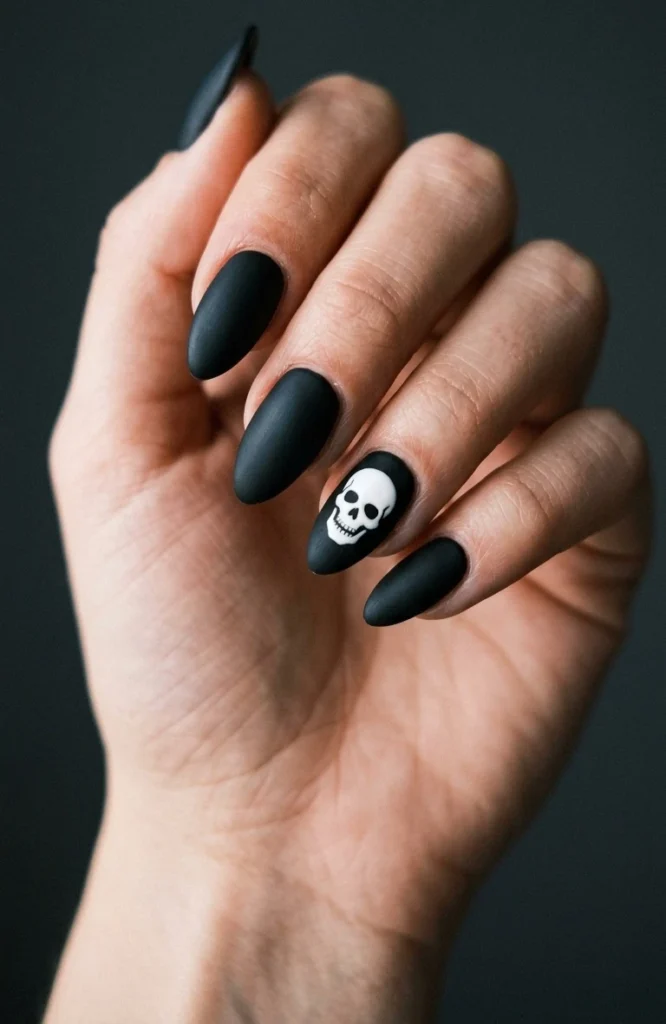
One tiny white skull on an almond nail reads as edgy without tipping into full costume.
Keep the rest simple. Paint everything a matte black or deep grey, then place a small white skull on a single accent nail. Two dot eyes, a triangle nose, and a few short teeth lines are all it takes.
One skull on one accent nail.
Keep the other nails clean and matte.
A skull on every finger.
Crowding it with extra charms and studs.
18: Creepy Eyeball Accent Nail
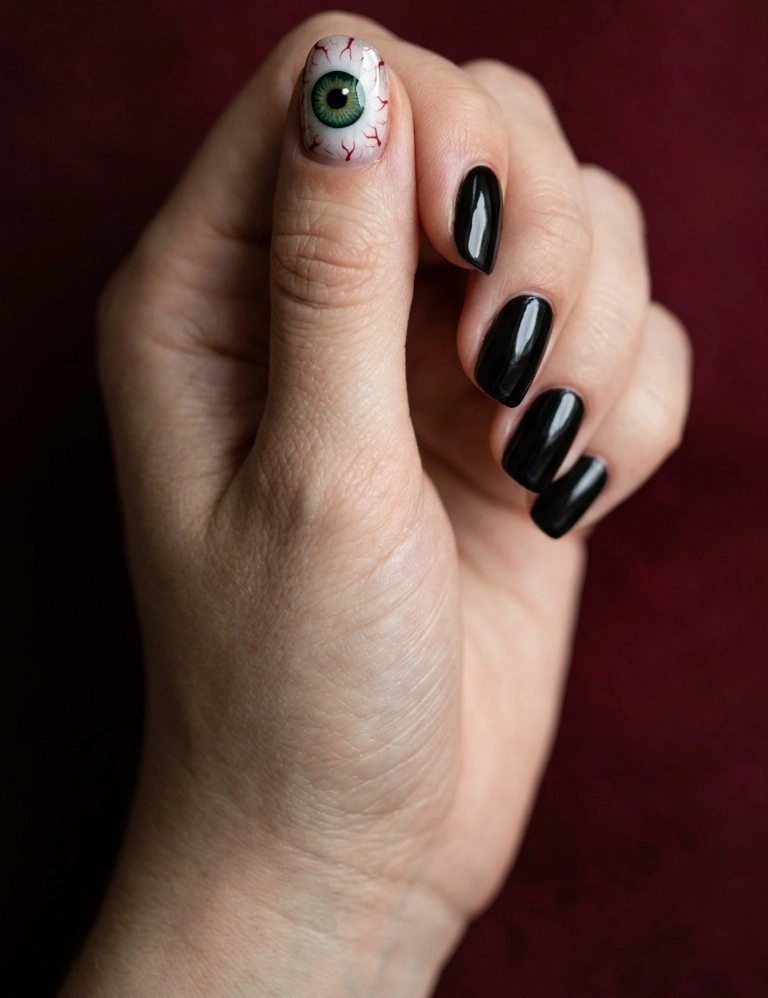
A single watchful eye on one nail is the creepy detail that makes people look twice.
Paint a base that fits your mood, blood red or deep black both work. On one accent nail, draw a white oval, add a colored iris, a black pupil, and a few thin red lines around the edges for that bloodshot touch.
19: Soft Goth Pastel Halloween
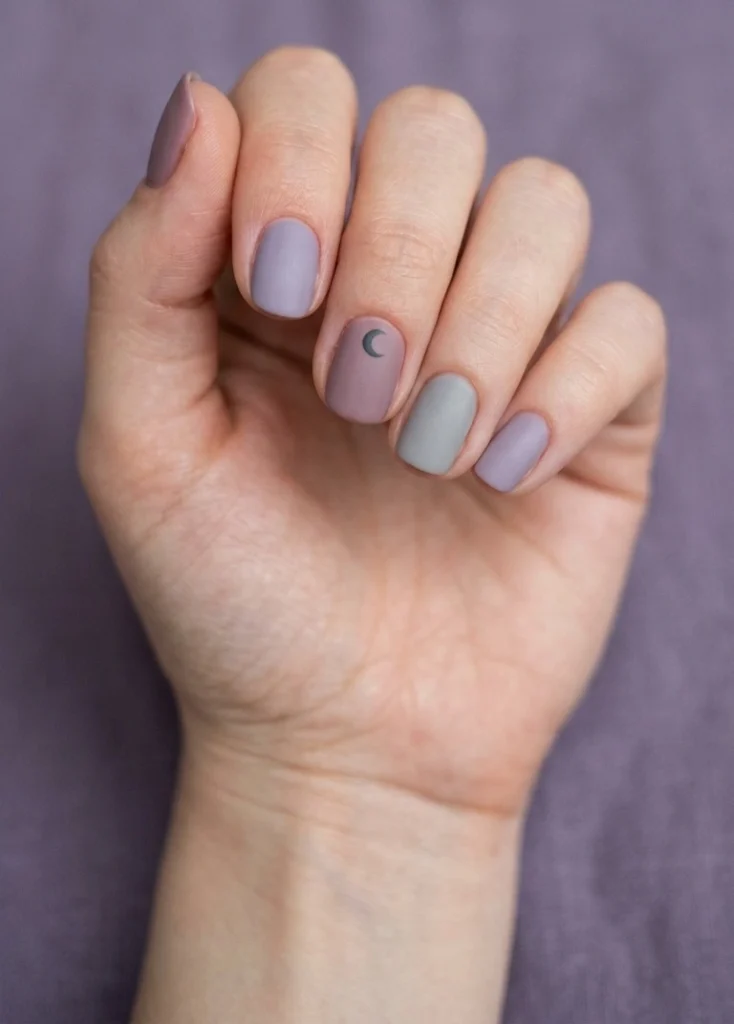
Muted mauve, dusty lavender, and soft grey give you a gentle goth look that whispers Halloween instead of shouting it.
Mix and match these dusty pastels across your nails, one shade per finger. Add one small detail on a single nail, a thin cross, a tiny bat, or a little moon in charcoal.
20: Cauldron Potion Drip Green
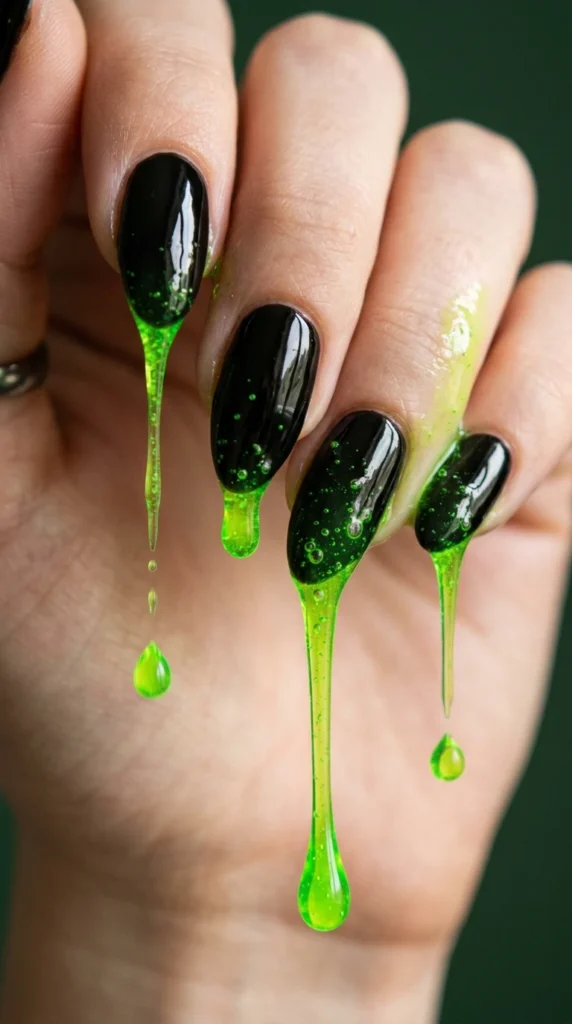
Glossy black nails with a bubbling green drip at the tips look like potion spilling over a cauldron’s edge.
Paint a deep glossy black base. At the tips, use bright toxic green to paint an uneven drip pouring downward, just like the blood drip but in witchy green. Add a couple tiny green dots above the drips for floating bubbles.
21: Vampire Red Fang
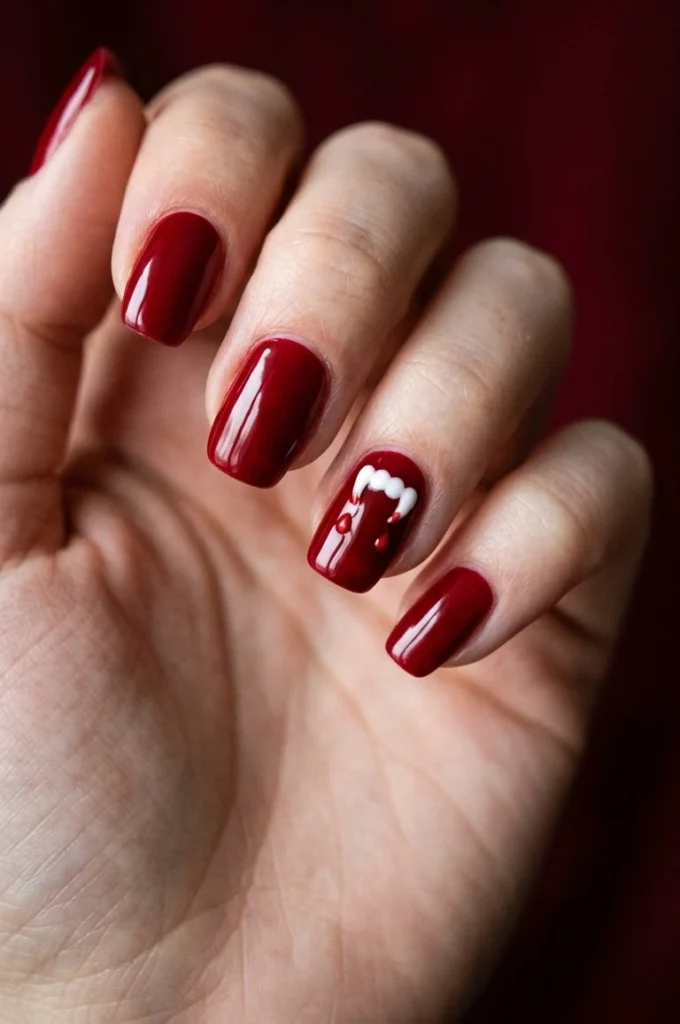
Deep vampire red with two tiny white fangs on one nail is the sexiest spooky option on this list.
Paint every nail a rich blood red, glossy not matte, so it looks like patent leather. On a single accent nail, add two small white fang shapes pointing down from the tip, thin at the bottom like real teeth.
22: Moonlit Bat Silhouette Sky
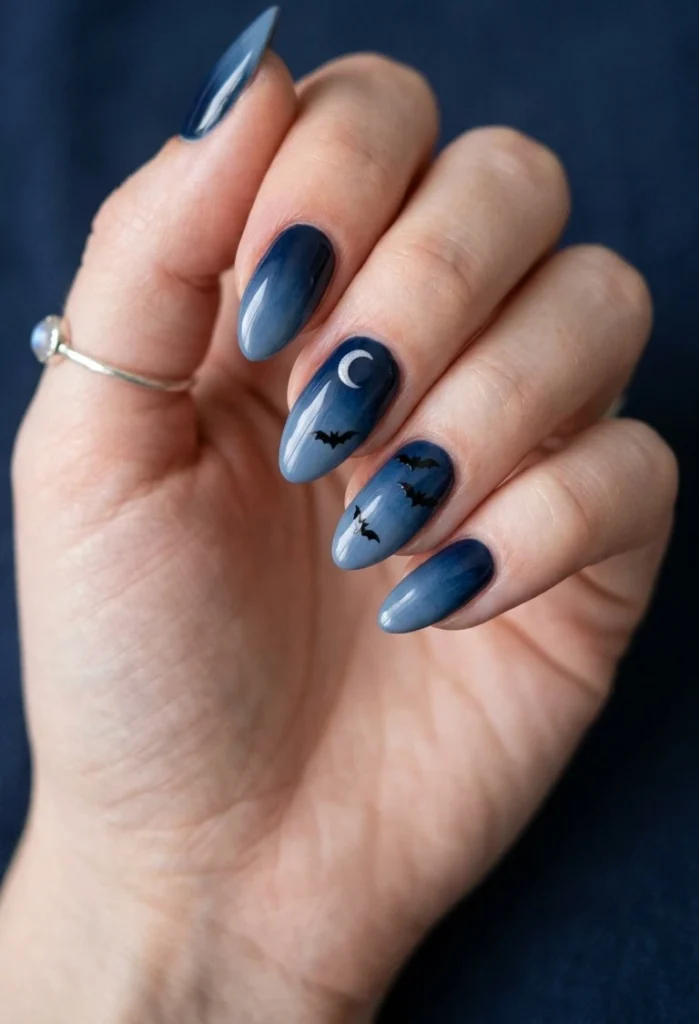
Tiny black bats flying across a deep blue night nail is the design that closes out this list on a dreamy note.
Sponge a gradient from deep navy at the cuticle to a lighter dusk blue at the tips for that twilight sky.
Sponge a navy to dusk blue gradient across each nail.
Add a small pale moon near one corner and let it dry.
Dot a few small black bats scattered across the sky and seal.
Conclusion
The best part about Halloween nails is how little you need to look like you tried hard. One accent nail, a shade you already own, and a steady minute or two is enough to turn a plain manicure festive.
Pick the designs that match your week. Save the glow and glitter for the party, the soft goth and plaid for the office, and the cute ghosts for whenever you want a smile at your own hands.
Mix and match freely. There are no rules once you start playing.
Pin this list so every Halloween nails idea is one tap away when you sit down to paint. 🎃